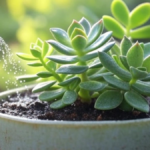
When to transplant iris plants is a common question for home gardeners who want beautiful and healthy blooms every year. The best time to transplant iris plants is late summer to early fall, usually 4 to 6 weeks after they finish blooming. This timing gives the plant a chance to settle in its new spot and grow strong roots before winter comes.
I’ve transplanted many iris plants over the years in my home garden, and I’ve learned that timing is everything. If done at the right time, irises bloom better and stay healthy. In this post, I’ll share my personal experience and give you a simple, step-by-step guide to transplant irises the right way.
IN THIS ARTICLE
Why and When Should You Transplant Iris Plants?
Transplanting iris plants is needed when they get too crowded or stop flowering. Iris plants grow from rhizomes (thick roots), and over time these rhizomes multiply and start competing for space and nutrients.
You should transplant irises when:
- The plant looks crowded or rhizomes are growing on top of each other.
- You notice fewer or smaller flowers during blooming time.
- It’s been 3 to 4 years since you last divided them.
- The leaves are turning yellow early or showing signs of poor health.
Best Time to Transplant Iris Plants
The ideal time to transplant iris plants is:
- Late summer to early fall (between July to September)
- About 4 to 6 weeks after flowering ends
- On a cool, dry day when the sun is not too harsh
This time is perfect because the plant has finished blooming and enters a resting stage (dormant period). It gives the roots time to grow in the new place before winter. Avoid transplanting in very hot or cold weather.
Quick Tips for When to transplant iris plants
- Best Time: 4–6 weeks after blooming (usually late July–September)
- Weather: Choose a cool, dry, and partly sunny day
- Frequency: Transplant every 3–4 years
- Avoid: Transplanting during blooming or extreme heat/cold
- Tools Needed: Garden fork, gloves, sharp knife, compost
Step-by-Step Guide: How to Transplant Iris Plants
Here is a detailed step-by-step guide that I personally follow when I transplant iris plants in my garden:
1. Wait Until the Right Time
- First, let the plant finish blooming completely.
- Wait 4 to 6 weeks after flowering ends.
- Look for yellowing or drying leaves, which is a sign that the plant is ready.
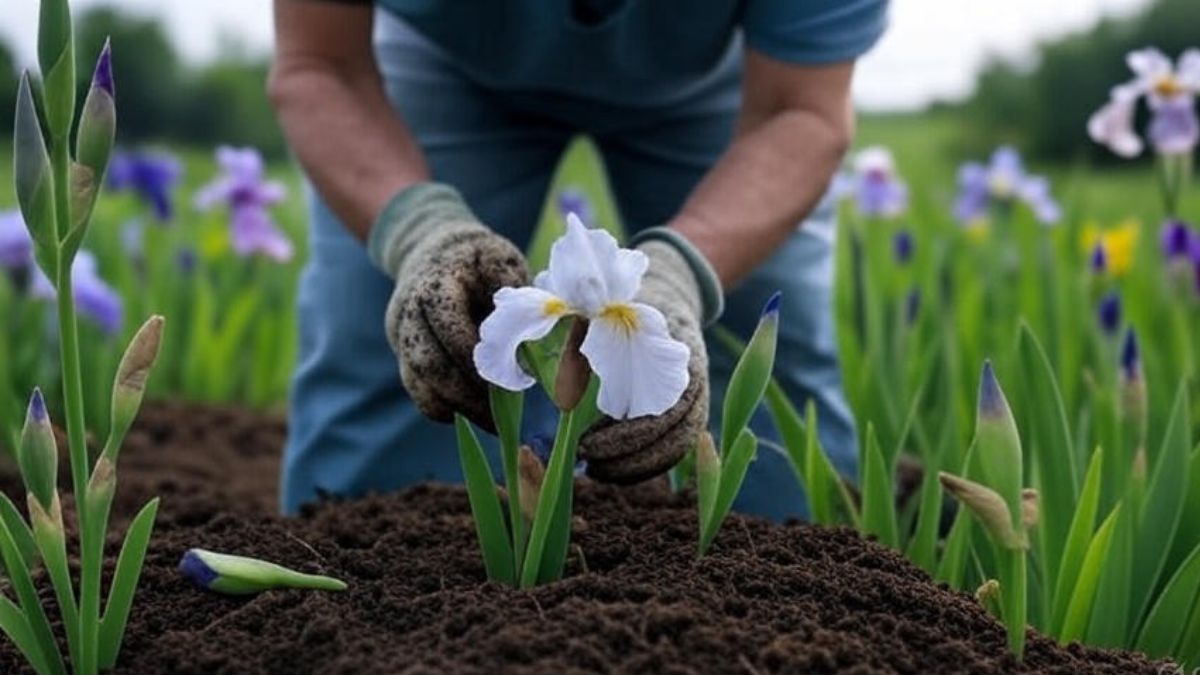
2. Dig Up the Iris Plant Gently
- Use a garden fork or spade to carefully dig around the plant.
- Start digging about 4 to 6 inches away from the base to avoid cutting the rhizomes.
- Lift the entire clump of iris gently from the soil.
3. Shake Off Soil and Inspect Rhizomes
- Shake off or wash away extra soil so you can clearly see the rhizomes (thick roots).
- Check for rotting or soft parts – throw those away.
- Keep only firm, healthy rhizomes that look strong and have at least one fan of leaves.
4. Divide the Rhizomes
- Use a clean, sharp knife or pruner to cut the rhizomes apart.
- Each piece should have a healthy root system and 1–2 leaf fans.
- Remove old sections from the center and keep the younger outer sections.
- Let the cut ends dry for a few hours before planting again.
5. Trim the Leaves
- Cut the leaves into a fan shape, about 4 to 6 inches long.
- This reduces water loss and helps the plant focus on growing new roots.
6. Prepare the New Planting Area
- Pick a spot that gets full sunlight (at least 6 hours a day).
- Make sure the soil is well-drained. Irises do not like soggy roots.
- Mix in some compost or organic matter to improve the soil.
- Avoid using chemical fertilizers during transplanting.
7. Plant the Rhizomes Properly
- Dig a shallow hole (just enough to spread the roots).
- Place the rhizome horizontally, with the top just at or slightly above the soil surface.
- Spread out the roots and cover lightly with soil. Don’t bury too deep.
- Space each rhizome about 12 to 18 inches apart for good air circulation.
8. Water Lightly
- Water the plant gently after transplanting.
- Keep the soil slightly moist (not wet) for the first few weeks.
- Avoid overwatering as it may cause rot.
9. Optional – Light Mulching
- You can add a light layer of mulch to help retain moisture.
- Keep the mulch away from the rhizome surface to prevent rotting.
How Often Should You Transplant Iris Plants?
- You should transplant every 3 to 4 years.
- Doing this keeps the plant healthy and helps it bloom more.
- It also stops the rhizomes from getting overcrowded and rotting.
Signs That Iris Plants Need Transplanting
- No or few flowers during the bloom season
- Rhizomes are piled on top of each other
- Leaves turn yellow or pale early
- You see soft, mushy, or rotting roots
FAQs About Transplanting Iris Plants
Can I transplant iris plants in spring?
Spring is not the best time. It’s better to wait until late summer after blooming ends for the best results.
Should I cut back iris leaves before transplanting?
Yes. Trim leaves to about 4–6 inches to reduce stress and support root growth.
Can I transplant iris while it is flowering?
No. Transplanting during bloom can shock the plant and affect flowering.
How long does it take for transplanted irises to bloom again?
It can take one full season. You may not see flowers the first year, but blooms will return stronger next year.
Conclusion
Transplanting iris plants is simple if done at the right time – 4 to 6 weeks after flowering, usually between July and September. Based on my experience, choosing the correct time and following proper steps helps your iris plant grow stronger and bloom better. Regular transplanting every few years keeps your garden fresh and full of beautiful flowers.
If you follow this step-by-step guide, your iris plants will reward you with healthy growth and more blooms in the next season. Now you know exactly when to transplant iris plants and how to do it the right way
Read More