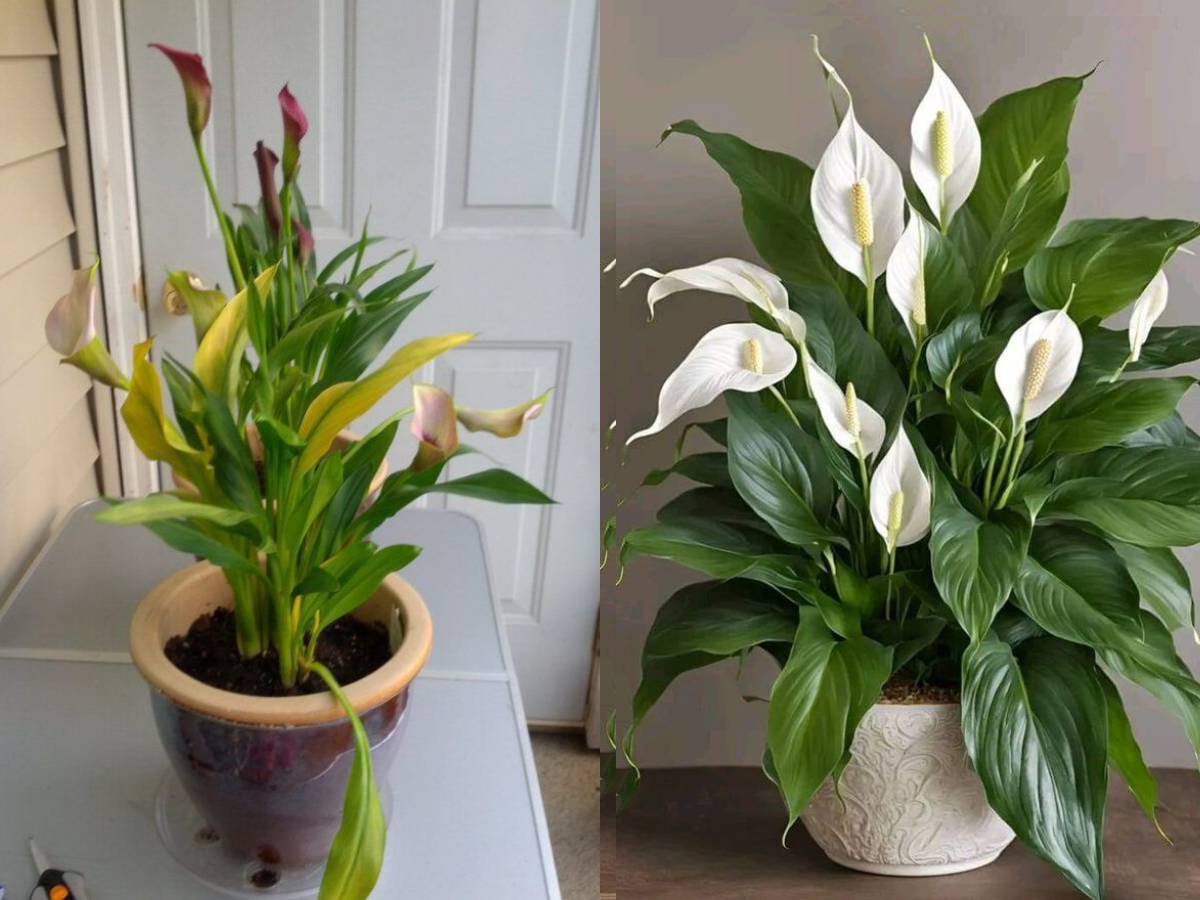
How to Transplant Peace Lily Plant – lily plant is an important process to keep your indoor plant healthy, green, and blooming regularly. If your peace lily looks root-bound, is growing slowly, or its soil dries out too fast, then it’s time to repot it into a bigger pot with fresh soil. In this post, I will guide you through the exact steps I personally follow to transplant peace lily successfully. With the right care, peace lily recovers well and continues to thrive.
I’ve been growing peace lilies at home for the last few years. From experience, I’ve learned that repotting them at the right time with the proper method makes a big difference in their health and growth. Now let’s go step-by-step.
IN THIS ARTICLE
When to Transplant Peace Lily
The best time to transplant peace lily is during spring or early summer, which is the plant’s active growth period. This gives the plant time to adjust, develop new roots, and grow without stress. Avoid transplanting during winter or heavy flowering, unless necessary.
Signs Your Peace Lily Needs Transplanting
Look for these signs to know if it’s time to transplant:
- Roots are growing out of the pot’s drainage holes
- Water runs straight through the pot
- Leaves are turning yellow or drooping
- Soil dries too quickly after watering
- The plant has stopped growing or flowering
- Pot feels too tight or plant is top-heavy
Things You Need Before Transplanting
Prepare the following tools and materials:
- A new pot that is 1–2 inches wider than the old one
- Fresh, well-draining potting mix (preferably rich in organic matter)
- A garden trowel or butter knife
- Gardening gloves
- A watering can with clean water
- A clean surface or sheet for working
How to Transplant Peace Lily Plant –Step-by-Step Guide
Step 1: Water the Plant One Day Before
Water the peace lily thoroughly a day before you plan to repot it. This helps soften the soil, makes root removal easier, and reduces the risk of shock during the transplant. Moist roots are less likely to break.
Step 2: Choose a New Pot
Select a pot that is 1–2 inches larger in diameter than the current one. Make sure it has good drainage holes. Avoid pots that are too large, as they may retain extra water and cause root rot.
Step 3: Prepare the New Pot
- Place a layer of fresh potting soil at the bottom of the new pot
- You can mix in perlite or cocopeat to improve drainage and aeration
- The new soil should be slightly moist but not wet
Step 4: Remove the Peace Lily from the Old Pot
- Hold the base of the plant (where stems meet the soil)
- Gently tip the pot sideways and tap the bottom or sides
- If the plant is stuck, use a small trowel or knife to loosen the soil edges
- Slowly slide the plant out, supporting the root ball with your hands
Step 5: Inspect and Prune the Roots
- Shake off excess old soil from the root ball
- Look for brown, black, or mushy roots and trim them using clean scissors
- If the roots are tightly wound, gently loosen them using your fingers
- Do not cut healthy white roots — only remove damaged or rotten ones
Step 6: Place the Plant in the New Pot
- Hold the peace lily in the center of the pot
- Adjust the height so the top of the root ball sits one inch below the rim
- Begin adding soil around the sides while holding the plant upright
- Lightly press the soil down to remove air pockets, but don’t pack it too tightly
Step 7: Water the Plant After Transplanting
Once the plant is settled:
- Pour clean water slowly into the pot until it drains out of the bottom
- Water helps settle the soil and connects the roots to the fresh medium
- Do not let the plant sit in standing water; ensure good drainage
Step 8: Place in Indirect Light
- Keep the repotted plant in a shaded spot with indirect sunlight
- Avoid placing it in direct sun for the first few days
- Maintain room temperature between 18°C to 27°C and keep the plant away from cold drafts or heaters
Step 9: Don’t Fertilize Immediately
Do not use fertilizer for at least 4–6 weeks after transplanting. Let the plant adjust to its new environment first. Fertilizing too soon may burn sensitive roots.
Aftercare Tips for Transplanted Peace Lily
To help your peace lily recover and grow well after transplanting:
- Water only when the top inch of soil feels dry
- Mist the leaves occasionally to maintain humidity
- Keep it in a well-lit area with indirect light
- Avoid overwatering or letting the soil stay soggy
- Resume feeding with balanced houseplant fertilizer after 4–6 weeks
Quick Checklist for Transplanting Peace Lily
- Water before transplanting
- Choose a slightly bigger pot
- Use fresh, airy potting mix
- Remove gently from the old pot
- Trim dead or circling roots
- Replant at correct depth
- Water after transplanting
- Avoid direct sun for a few days
- Delay fertilizing for a month
My Experience in Peace Lily Transplanting
From my experience in home gardening, I’ve found that transplanting peace lilies every 1–2 years keeps them green and healthy. One of my peace lilies had stopped blooming and was root-bound. After transplanting it into a slightly larger pot with compost-enriched soil and giving it a few weeks to adjust, it started growing new leaves and eventually bloomed again. The key is gentle handling, proper soil, and not disturbing the crown of the plant.
FAQs – Transplanting Peace Lily
How often should I transplant peace lily?
Every 1 to 2 years, or whenever the roots outgrow the pot.
What type of soil is best for peace lily?
Use a well-draining potting mix with peat, coco coir, compost, or perlite.
Should I water after transplanting?
Yes, water thoroughly after placing the plant in the new pot.
Can I repot peace lily during flowering?
It’s best to wait until flowering ends, but if necessary, you can repot gently without damaging the blooms
Conclusion
Transplanting peace lily plant is a simple yet essential process to keep it healthy and encourage better growth. Whether you’re repotting due to root crowding, soil issues, or just giving it more space to grow, following the steps shared above can help you do it the right way. Always be gentle with the roots, choose the right size pot, and avoid overwatering after transplanting.
With proper transplanting and care, your peace lily will reward you with lush green leaves and beautiful white blooms for years to come
Read More Post
How to Grow Peace Lily in Water – My Own Gardening Experience
How to Repot a Peace Lily Step by Step (With Real Gardening Experience)