How to propagate periwinkle from seed and cutting is a question many home gardeners often ask, especially those who love colorful and low-maintenance flowering plants. In my experience as a home gardener, I have propagated periwinkle—also known as Vinca—using both methods successfully. It’s one of the easiest flowering plants to multiply and can be grown almost all year round in most parts of India. Whether you want to grow a few more plants for your balcony or create a full bed of Vinca in your garden, learning the right method of propagation is key.
In this post, I’m sharing my personal, tried-and-tested methods to propagate periwinkle using seeds and stem cuttings. These techniques are simple, require minimal tools, and can be done even by complete beginners. Everything I mention here is based on hands-on gardening experience and natural observation, not just theory.
IN THIS ARTICLE
About the Periwinkle Plant (Vinca)
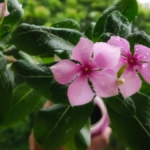
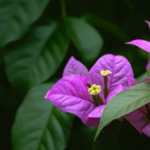
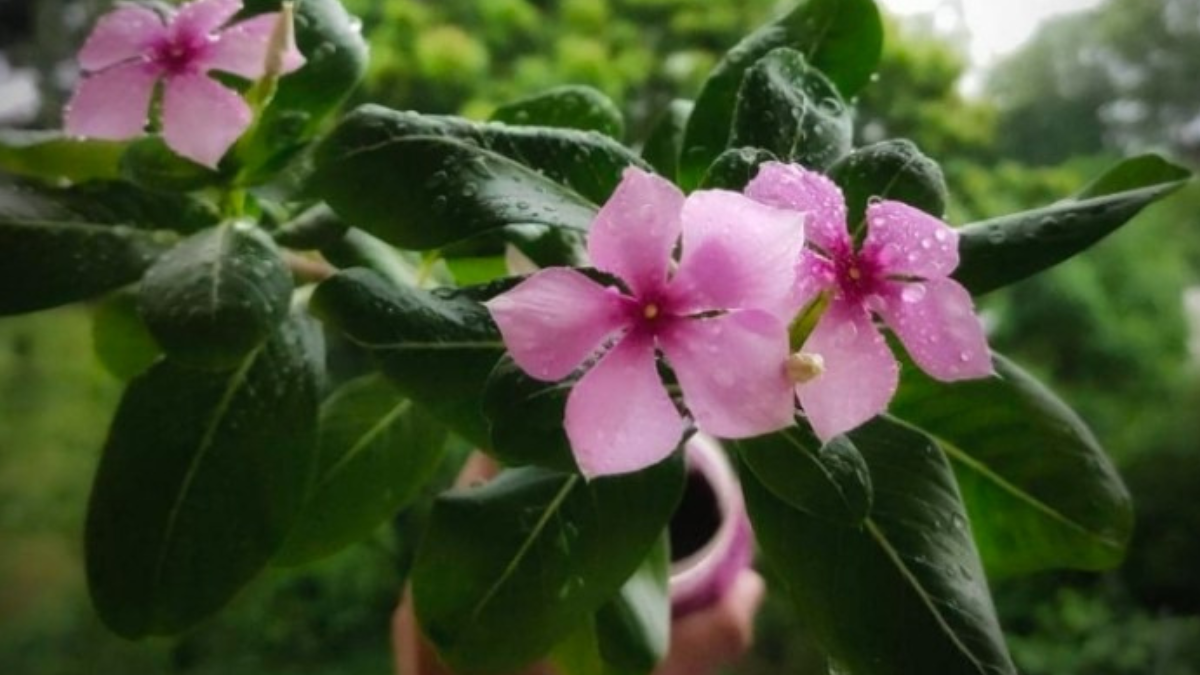
Periwinkle, commonly known as Sadabahar in India, is a popular ornamental plant. It grows fast, blooms almost continuously, and comes in several colors like pink, white, purple, and light blue. The plant can tolerate hot temperatures and low water conditions, which makes it ideal for Indian households.
| Common Name | Periwinkle / Vinca / Sadabahar |
|---|---|
| Botanical Name | Catharanthus roseus |
| Plant Type | Annual or Perennial Flowering Plant |
| Propagation Methods | Seeds and Stem Cuttings |
| Best Season | Spring to Early Summer |
| Sunlight Requirement | Full Sun to Partial Shade |
Quick Tips Before You Start
- Use only fresh seeds or healthy cuttings
- Prepare well-drained soil to avoid fungal issues
- Always keep the medium moist but not soggy
- Avoid direct harsh sunlight for new seeds or cuttings
- Start propagation in March to June for best results
How to Propagate Periwinkle from Seeds
In my garden, I prefer propagating periwinkle from seeds when I want to grow many plants at once. It may take more time than cutting, but it’s satisfying to watch them grow from tiny seeds into flowering plants.
Step-by-Step Seed Propagation Process:
1. Collect or Buy Quality Seeds
- You can collect dry seed pods from mature periwinkle flowers after they dry out.
- Alternatively, you can buy good-quality seeds from local nurseries or trusted online stores.
- Always choose fresh and disease-free seeds.
2. Soak the Seeds (Optional but Helpful)
- Soaking the seeds in room-temperature water for 6–8 hours softens their outer coat.
- It improves germination rate and speeds up sprouting.
3. Prepare the Sowing Medium
- Use cocopeat, seed starter mix, or a combination of garden soil + sand + compost (2:1:1).
- Fill seed trays or small pots and press lightly to settle the mix.
- Lightly water the soil so it becomes moist but not too wet.
4. Sow the Seeds Properly
- Make shallow holes about 0.5 cm deep using a finger or stick.
- Drop one seed per hole.
- Cover lightly with dry cocopeat or soft soil and press gently.
- Avoid burying the seed too deep.
5. Provide the Right Environment
- Keep the tray or pot in a warm and bright spot away from direct sunlight.
- Covering it with a plastic sheet or transparent lid helps retain moisture and warmth.
- Ensure good air circulation to avoid fungal issues.
6. Watering the Seeds
- Use a spray bottle or fine nozzle to mist the soil lightly every day.
- Don’t allow the soil to dry out, but never overwater.
- Consistent moisture is key to germination.
7. Germination Time
- Periwinkle seeds usually germinate in 7–15 days.
- Once you see 2–3 leaves, remove the cover and place the pot where it receives indirect sunlight.
8. Transplanting the Seedlings
- After 3–4 weeks, when seedlings grow stronger, transplant them into bigger pots or the ground.
- Water the transplanted seedlings gently and provide shade for the first few days.
How to Propagate Periwinkle from Stem Cuttings
This method is my personal favorite for fast propagation. I often take 3–4 cuttings from a mature plant and within 2–3 weeks, I get new rooted plants ready for transplanting.
Step-by-Step Cutting Propagation Process:
1. Choose a Healthy Mother Plant
- Select a mature and healthy periwinkle plant with thick green stems.
- Avoid plants with pest or disease signs.
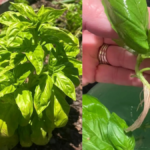
2. Cut a Suitable Stem Section
- Using sterilized scissors, cut a stem that is about 4 to 6 inches long.
- Make the cut just below a leaf node where new roots will form easily.
- Select stems that are not flowering for better root development.
3. Remove Extra Leaves
- Carefully remove the lower 2–3 leaves from the cutting.
- Leave the top leaves untouched.
- This reduces water loss and helps focus energy on root formation.
4. Dip in Rooting Hormone (Optional)
- If available, dip the cut end in organic rooting hormone powder.
- This helps in faster root formation, but I have also seen success without using any hormones.
5. Prepare the Pot and Soil
- Choose a small pot with good drainage holes.
- Fill it with moist mix of 50% garden soil + 30% cocopeat + 20% sand.
- Water lightly to make the soil moist, not soggy.
6. Plant the Cutting
- Make a hole in the center using a stick or finger.
- Insert the cutting at least 2 inches deep.
- Gently press the soil around the stem to keep it stable.
7. Create a Humid Environment
- Cover the pot with a clear plastic bag or bottle to trap humidity.
- Ensure the plastic does not touch the leaves.
- Remove the cover for a few hours daily to allow airflow.
8. Keep in Indirect Light
- Place the pot in a bright spot without direct sun.
- Direct heat can stress the cutting during rooting.
9. Watering and Maintenance
- Mist the soil every 1–2 days.
- Make sure the soil stays slightly moist.
- Avoid heavy watering during the rooting phase.
10. Root Formation Time
- In 2 to 3 weeks, roots will form.
- You can gently tug the cutting to check if it resists. That means roots are developing.
11. Transplanting
- Once new leaves start growing, it’s time to shift to a larger pot or garden bed.
- Water lightly and protect from harsh sun for the first few days.
Conclusion
Propagating periwinkle from seed and cutting is an excellent way to multiply this beautiful, hardy plant in your home garden. Both methods work well if done properly. If you’re looking for faster results and a direct copy of the mother plant, go for cuttings. If you want to start from scratch and grow more plants at once, choose seeds.
I have personally used both techniques and found success. With a bit of care, the right soil mix, and the proper sunlight, you can enjoy healthy periwinkle plants blooming with colors in just a few weeks.