Learn how to grow hydrangeas from cuttings in water easily at home with my personal gardening experience. By following simple step-by-step methods like cutting healthy stems, placing them in clean water, and waiting for roots to grow, you can successfully propagate hydrangeas without soil. This detailed, selecting the right season to transplanting into soil. Ideal for beginners, this post shares real, tested methods using simple language and easy instructions for plant lovers.
I’ve been growing hydrangeas for many years. From my experience, propagating hydrangeas from cuttings in water is a simple and satisfying method. You don’t need complicated tools — just healthy cuttings, clean water, and a little patience. In this post, I’m sharing my real experience with an easy-to-follow guide in simple words so even beginners can understand it without confusion.
IN THIS ARTICLE
About Hydrangea Plant
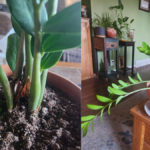
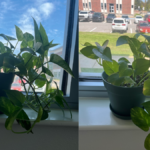
Hydrangeas are beautiful flowering shrubs seen in gardens, balconies, and outdoor spaces. Their colorful flower heads make them popular for decoration. Growing hydrangeas from cuttings is an easy and budget-friendly method if done properly.
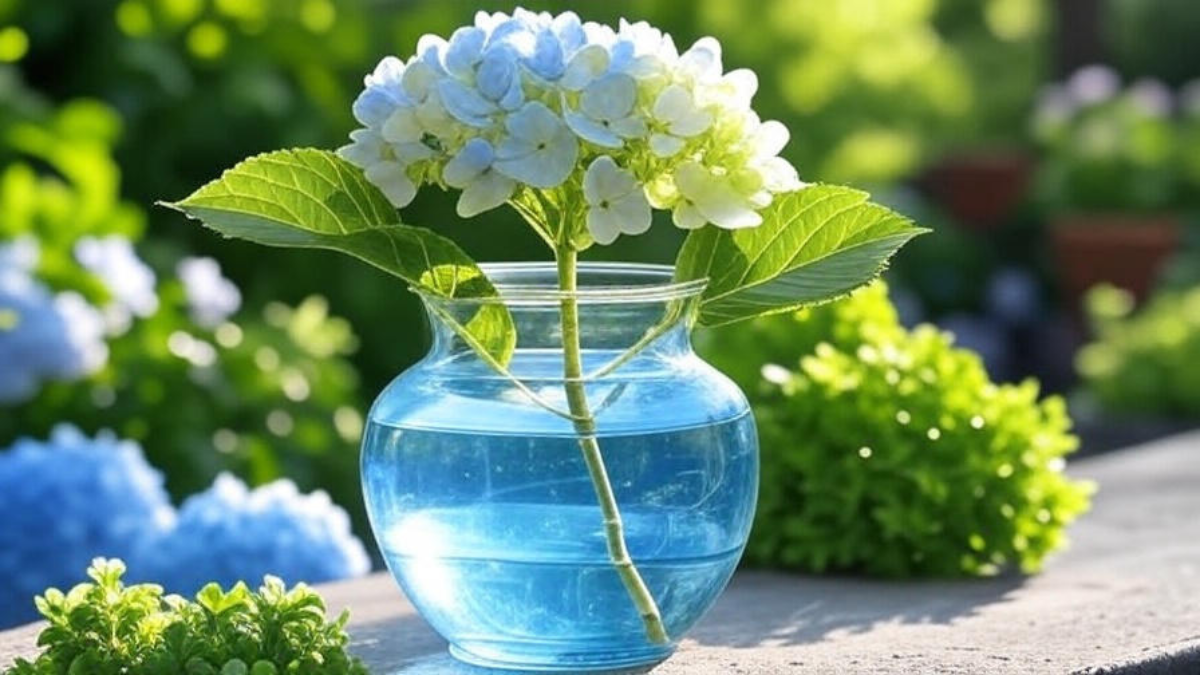
Quick Tips for Growing Hydrangeas from Cuttings in Water
- Use spring or early summer for the best results
- Cut healthy, green stems without flowers
- Place cuttings in a transparent jar filled with clean water
- Keep in bright indirect sunlight
- Change the water every 3–4 days
- Wait 2–3 weeks for root growth
- Plant into soil once roots reach 2–3 inches long
Step-by-Step Guide: How to Grow Hydrangeas from Cuttings in Water
This is the same method I use in my garden. Follow each step carefully for best results.
Step 1: Select the Right Time for Propagation
- The best time to grow hydrangeas from cuttings is spring to early summer.
- During this season, the plant’s growth is active, so cuttings root more easily.
- Avoid winter or peak summer because extreme temperatures slow down root development.
Step 2: Pick Healthy Stem Cuttings
- Always choose a fresh, green stem that is healthy and non-flowering.
- The ideal cutting length is 4–6 inches.
- Ensure the cutting has 2–3 leaf nodes (these are the parts where leaves attach to the stem).
- Healthy stems mean faster rooting and better plant growth.
Step 3: Cut the Stem Properly
- Use sharp, clean scissors or pruning shears to avoid damaging the plant.
- Cut the stem at a 45-degree angle just below a leaf node.
- Remove all leaves except for the top two.
- If the remaining leaves are too big, cut them in half to reduce moisture loss.
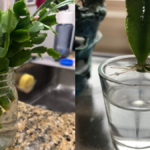
Step 4: Prepare a Jar with Clean Water
- Take a transparent glass or jar so you can easily see root growth.
- Fill it with filtered or room-temperature tap water.
- Avoid hot or cold water, which can stress the cutting.
- Make sure the jar is fully clean before adding water.
Step 5: Place the Cutting into Water
- Insert the cutting into the jar so that the leaf nodes are underwater.
- Ensure no leaves are touching the water, as this can cause rotting.
- Place the jar in a spot with bright indirect sunlight. Avoid direct sunlight, which heats the water too much.
Step 6: Change the Water Regularly
- Change the water every 3–4 days to prevent fungal growth and bacteria.
- Make sure to clean the jar if you see cloudiness or any algae.
- I personally check every 2–3 days to make sure everything is clean and fresh.
Step 7: Observe Root Development
- In 2–3 weeks, you should see small white roots starting to appear.
- Some cuttings may take up to 4 weeks, depending on temperature and light conditions.
- Do not rush — let the roots grow until they reach 2–3 inches long before moving to soil.
Step 8: Transplant the Cutting into Soil
- Once roots are long enough, prepare a small pot with well-draining soil.
- You can mix garden soil + compost + sand for better drainage.
- Gently plant the rooted cutting into the soil.
- Water lightly and keep it in a shaded place for one week before moving to a sunnier spot.
- Don’t overwater in the first week — keep the soil just slightly moist.
My Gardening Experience and Extra Tips
Here are a few extra points from my own gardening practice:
- Use transparent jars only: This helps me see root progress clearly.
- Cutting leaves in half really makes a difference; it prevents too much moisture loss.
- Filtered or boiled cooled water gives better results than untreated tap water.
- Bright indirect light works better than direct hot sun. I always keep the jar on a windowsill where only morning light comes.
- Never overcrowd jars with too many cuttings. I always use 1–2 cuttings per jar for best airflow.
Conclusion
Growing hydrangeas from cuttings in water is a very simple and cost-effective method I always recommend. With basic items like a glass jar, clean water, and healthy cuttings, you can easily multiply your hydrangea plants at home. By following these step-by-step methods based on my personal experience, you’ll have healthy, rooted plants ready to grow in soil within a few weeks.
How to Transplant a Hydrangea – Step-by-Step Guide
How to Propagate Hydrangeas – 3 Easy Methods (Water, Cutting, and Soil)